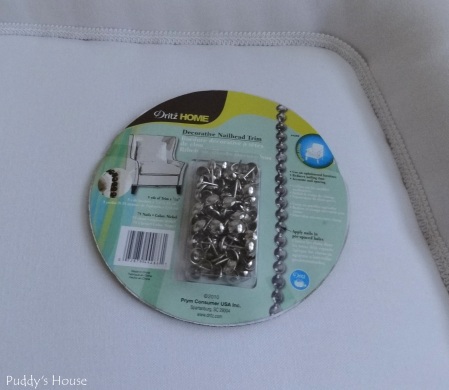
When I previously shared our guest bedroom here, I mentioned that I was considering adding nailhead trim to the headboard. I purchased the trim weeks ago, but I finally found time to make the update to the headboard.
I just moved the bed and laid the headboard on the floor right in the guest room.
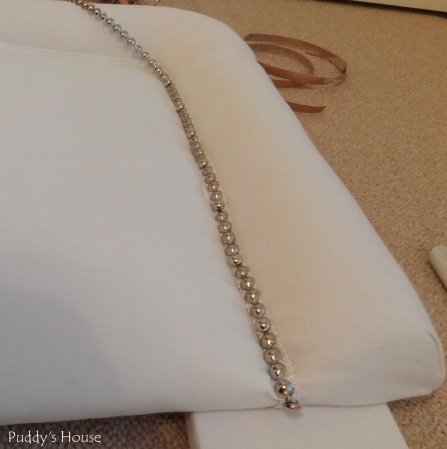
I had never used the nailhead trim before, so I was uncertain how the project would go, but it was quite easy. The trim is in one long strip, and every 5 nail heads in the strip have a hole in the middle so that you can insert a full nailhead to hold the strip down. I used a rubber mallet to hammer the nail heads into the headboard.
I was able to bend the strip to start the trim on the underneath side of the headboard. As you can see, I decided to just go right over the white trim that I already had on the headboard.
Puddy is very protective of the guest room bed, since it is where he spends many hours of the day. He was watching every move I made as I was working on the headboard.
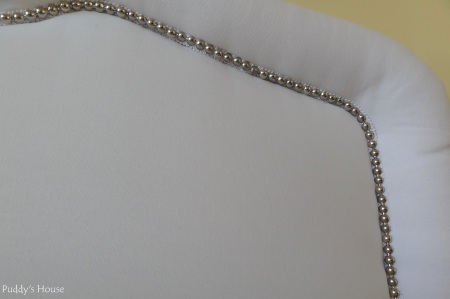
In a matter of minutes, I had the trim attached to the headboard. I didn’t use the whole roll of trim, so I just used wire cutters to cut the end and again bent it on the underside of the headboard to finish.
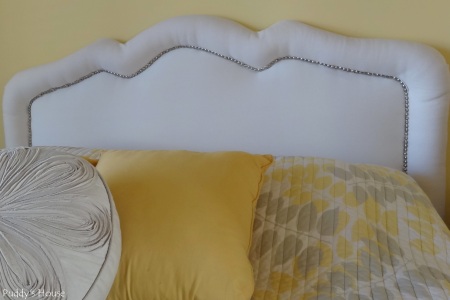
With the headboard back in place, Puddy was happy to relax in his normal spot on the bed.
I think the nailhead trim adds some interest to the plain headboard. What do you think? Anyone else use nailhead trim to update a piece of furniture?

